

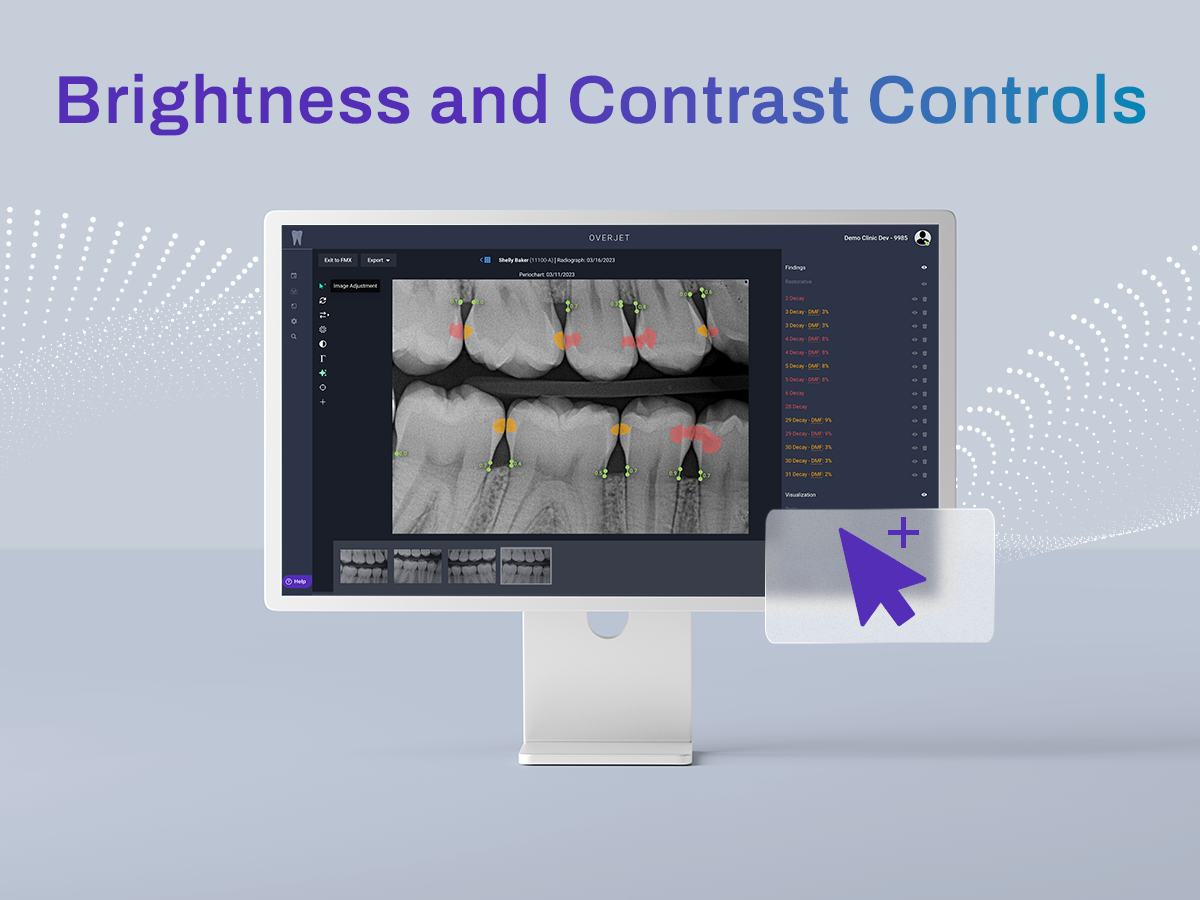
It’s now easier than ever to adjust the brightness and contrast on images in Overjet.
Here is a quick video that explains how to make the adjustments using your mouse.
You’ll notice that the image toolbar has moved from the top right of the image page to the left side of the page.
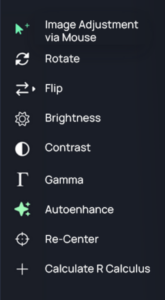
Simply click the Image Adjustment button, which is the top button on the image toolbar, to turn it green.
When you click and hold the left mouse button, you can adjust the image:
- Moving the cursor RIGHT increases contrast
- Moving the cursor LEFT decreases contrast
- Moving the cursor UP increases brightness
- Moving the cursor DOWN decreases brightness
- Moving the cursor diagonally up and to the right increases both brightness and contrast
- Moving the cursor diagonally down and to the left decreases both brightness and contrast
The changes will be saved automatically and there will be a new “Reset image adjustments” icon shaped like a back arrow available in the images adjustment toolbar as the bottom icon. If you want to reset the image to the default values, click that icon.
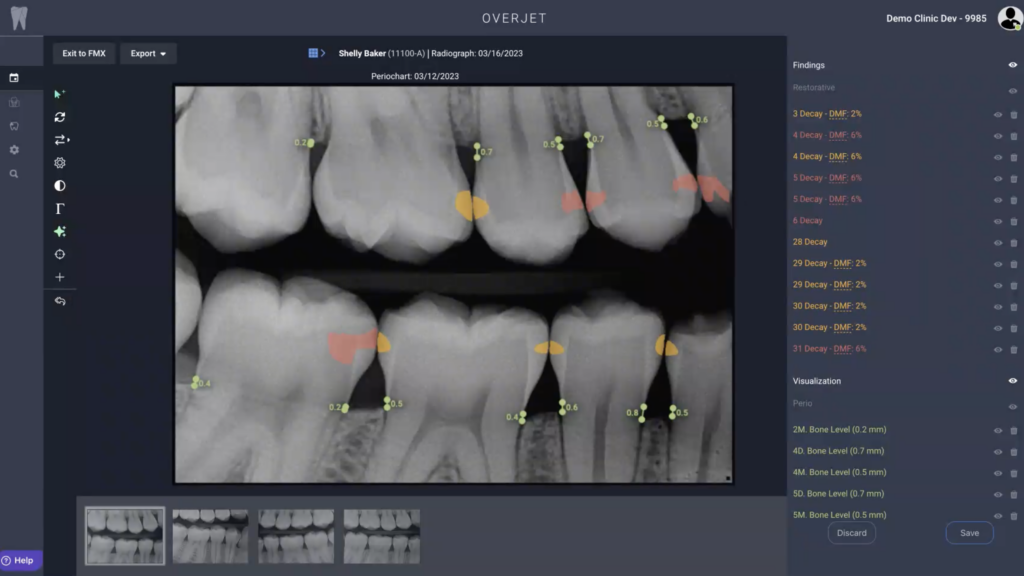
The back arrow only appears in the icon menu when image adjustments have been made. Here is a list of the other icons and their functions. One note: clicking on the Image Adjustment via Mouse icon to turn it green enables users to adjust the brightness and contrast via the mouse. Clicking it again so the green icon becomes grey lets the user move the image around the screen via the mouse.
Note: some features may not be available in all areas.